Cropping Mistakes That Ruin Wall Portraits at 16x20 and Up
Most cropping damage happens before the shutter fires. Here are the framing, aspect ratio and resolution errors that appear only after a client orders big, and how to shoot so they never do.
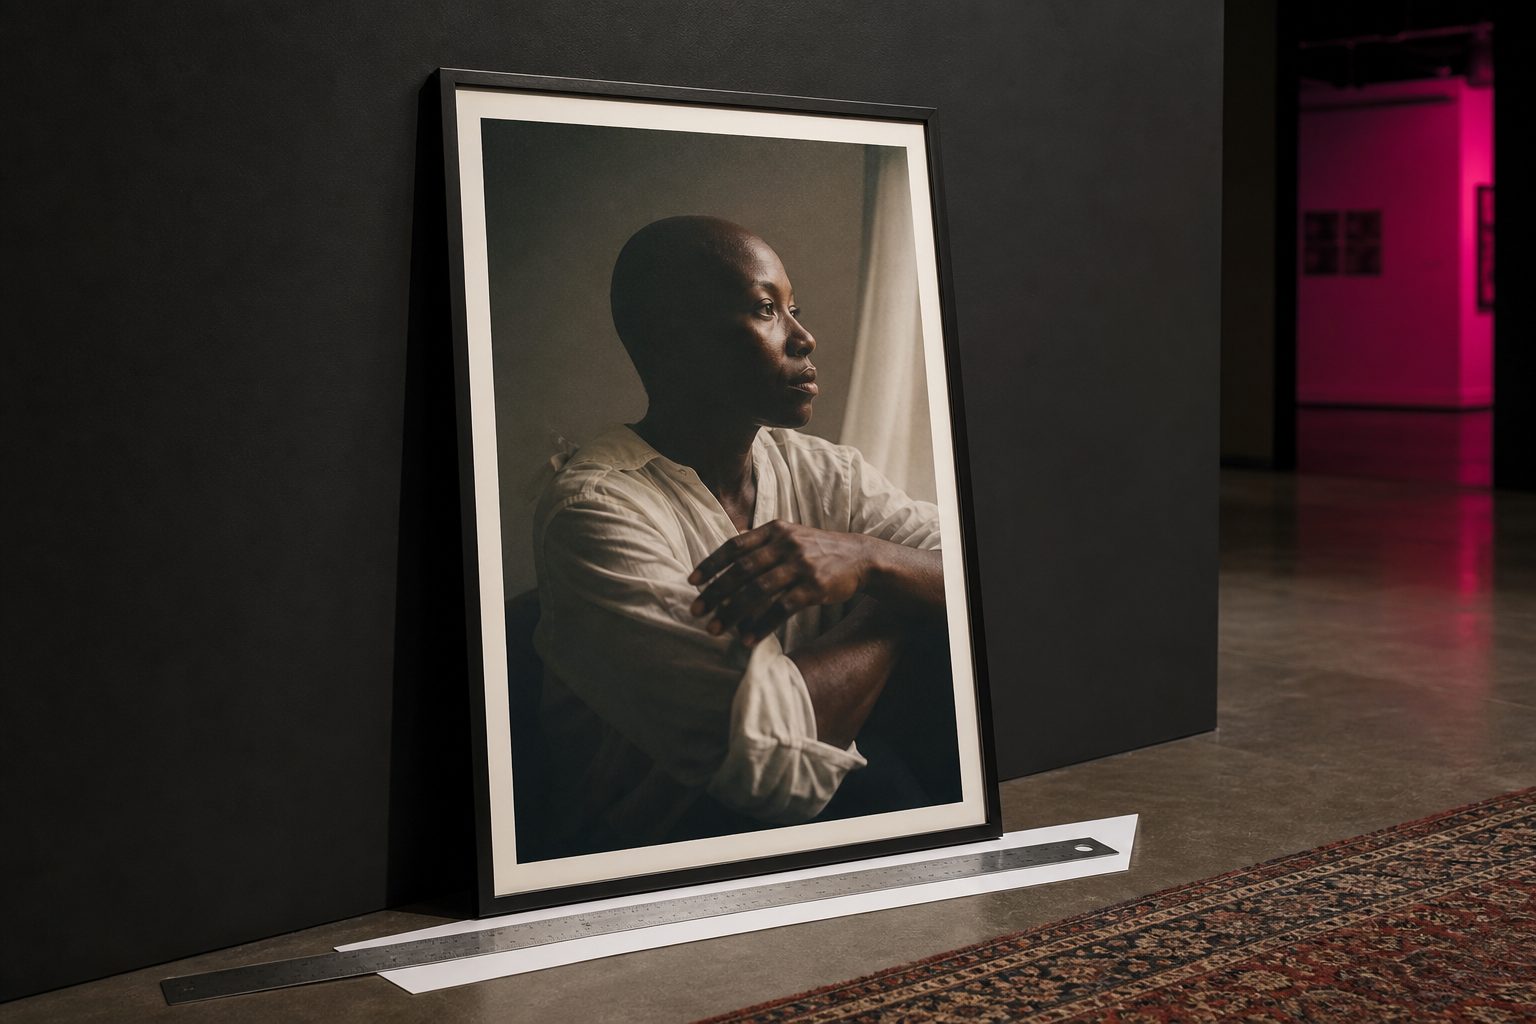
Why a 2:3 camera frame fights an 8x10 and a 16x20 order
Most portrait shooters work with cameras set to a 2:3 aspect ratio. It is native to full-frame and APS-C sensors, matching the classic 4x6 print. The trouble begins when clients want traditional wall portraits. The popular 8x10 and 16x20 prints use a 4:5 ratio, not 2:3. That mismatch guarantees a forced crop if you fill the frame in-camera.
A client might love a tightly framed shot on your screen, only to discover that getting an 8x10 or 16x20 means chopping off heads, hands, or other important parts. The printer must lop off portions from the long side to fit the frame, often at both ends. This can ruin your original composition and leave you scrambling for a fix.
This disconnect happens because the 2:3 frame is longer than the 4:5 or 8:10 print. If you shoot with the subject positioned near the top or bottom, you risk losing crucial space in the final product. Filling the frame too exactly in-camera is the silent culprit behind many ruined wall portraits.
Keep reading: Sales Tax on Portrait Sessions and Prints: How States Decide
Shooting loose on purpose: the safety margin that saves a sale
To protect against unwanted cropping, seasoned photographers shoot with extra space around the subject. This is called shooting loose. It gives you flexibility in post-processing, especially when cropping to several aspect ratios for different print sizes.
A safe margin means leaving room above the head, below the chin, and at the sides. How much? As a rule of thumb, allow at least 10 percent of the vertical and horizontal edge as "insurance." That way, you can crop for 8x10, 16x20, 5x7, and sometimes square sizes without losing key details.
It is tempting to fill the viewfinder, especially with fast-moving kids or candid moments. But extra space pays off every time a client changes their mind on print size. You keep control over the final composition, not the cropping tool at the lab.
Head room, chin room and eye line placement at large sizes
Composition for a large wall portrait demands more than basic headshots. At 16x20 and above, every inch of the subject is magnified. Mistakes that barely register in a small print become glaring at large scale.
Head Room
Avoid crowding the top of the frame with hair or hats. For 8x10s and 16x20s, leave more head room than you think you need. The extra space is your buffer for cropping and visual comfort. Too little headroom looks cramped, but too much creates a floating effect. The sweet spot is a comfortable gap above, enough to allow a crop without slicing the crown.
Chin Room
Clients notice when chins are nearly touching the print edge. At large sizes, this feels severe and accidental. Always leave enough space below the chin to keep the portrait grounded. A thumb's width on your preview screen often translates to a couple of inches on a 16x20.
Eye Line Placement
The horizontal eye line draws the viewer's attention first. For classic head-and-shoulders portraits, try to keep the subject's eyes about one-third from the top of the planned crop. This holds especially true for 4:5 and 8:10 ratios. If the eyes are too high, cropping for prints will slice the top of the head. If too low, the portrait feels off-balance.
Keep reading: Inside a Copyright Claims Board Case Over a Reused Portrait
Gallery wrap bleed and how much image the canvas edge swallows
Gallery wrap canvases are a favorite for wall displays. They stretch the printed image around a wooden frame, creating a finished edge. But that wrap means up to two inches per side can vanish from the front face, depending on the stretcher depth.
If you compose tightly, the wrap can swallow hair, shoulders, or hands. For a standard 1.5-inch wrap, the lab needs about 3 inches extra on each dimension, 1.5 inches for each side. The visible front of the canvas is smaller than the ordered size, sometimes by a noticeable margin.
Most labs publish exact bleed requirements. Check before you shoot, not after. When preparing files, extend backgrounds or use cloning tools to fill extra space if needed, but in-camera margin is always cleaner.
A well-composed image for canvas wrap keeps every critical feature, hands, faces, text, at least two inches inside the crop guides. Use tape or a digital overlay while shooting to visualize what will be lost to the sides and back.
Resolution, upsizing and honest viewing distance math
A print that looks sharp at 8x10 might fall apart at 16x20 or bigger. Resolution is more than just megapixels. It is about pixel density at the print size and the expected viewing distance.
Native Resolution for Common Print Sizes
Most labs recommend 300 pixels per inch (PPI) for small prints. For a 16x20, that means an image at least 4800x6000 pixels, almost 29 megapixels. However, at bigger sizes, viewers stand farther away. For a 24x36 or 30x40, 150 to 200 PPI can be enough if the wall display is not meant for close inspection.
Upsizing a low-resolution file for a large print can introduce blur and artifacts. Some software tools use intelligent algorithms to interpolate missing detail, but there is a limit. It is best to plan for the largest print you might sell and shoot at the highest resolution your camera allows.
How Viewing Distance Changes the Rules
A 16x20 over a fireplace is rarely examined from twelve inches away. The farther back a print is viewed, the less the eye picks up slight softness. Use a viewing distance of 1.5 to 2 times the diagonal length of the print as a guide. At this range, 200 PPI often looks crisp enough for most clients.
Still, be honest about your file's true capabilities. Never promise a wall-size print from a tight crop unless you have the resolution to back it up.
See how ProofRoom handles this for photography
Cropping once at capture versus cropping per product
Some photographers try to crop perfectly in-camera for a specific print size. This works when you know exactly what the client wants, but most clients change their minds after seeing proofs. Cropping once at capture locks you into a single aspect ratio and limits flexibility.
The better habit is to shoot loose, deliver proofs with extra margin, and crop separately for each print order. This ensures every product, whether it is an 8x10, 16x20, or square canvas, gets the best possible composition. You can adjust headroom, side space, and even image orientation to fit each format.
Efficient workflow means keeping original, uncropped files safe. Label edits by product size, not just by client or session. This prevents accidental overwrites and saves time when reorders come in months later.
Batch cropping can speed up proof delivery, but always double check for tight crops or lost details. Automation is only as good as the attention you pay at setup.
Setting gallery crop previews so clients see what they will hang
A great proofing gallery reduces client confusion and disappointment. The biggest headache for solo studio owners is getting clients to understand what their final print will look like at each size. Seeing a 2:3 proof and ordering an 8x10 leads to surprise crops.
Modern proofing tools allow you to set crop guides or previews for each product size. This way, clients see a true representation of what will be printed and hung on their wall. They can preview different crops, switch sizes, and even adjust the placement of their subject in the frame. This heads off complaints about missing heads or lost fingertips.
Take the time to set up product-specific crop previews in your gallery software. This adds a step to your workflow, but pays off in happier clients and fewer reprints. You can also use the preview feature to discuss cropping decisions during sales consultations, building confidence that the product will match expectations.
Some proofing platforms combine gallery viewing, crop previews, print ordering, and delivery tracking in one link. This helps solo photographers manage everything from proof to print without bouncing between tools, and it gives clients an accurate sense of what will arrive on their doorstep.
Read also
Three more pieces from The Proof Sheet on the craft, the pricing and the paperwork behind a portrait studio.
Sales Tax on Portrait Sessions and Prints: How States Decide
Some states tax the print, some tax the whole session, and some tax the download too. A plain reading of how state rules classify portrait work, and what changes when your lab ships the order.
Inside a Copyright Claims Board Case Over a Reused Portrait
The Copyright Claims Board hears small infringement claims without a lawyer. Walk a typical unlicensed portrait use through filing, the opt out, damages caps and the final determination.
Where Independent Studios Fit as School Photo Contracts Consolidate
School contracts set the floor for senior portraits while independent studios sell the session families actually want. How the two markets interact, and where a solo studio should aim next.